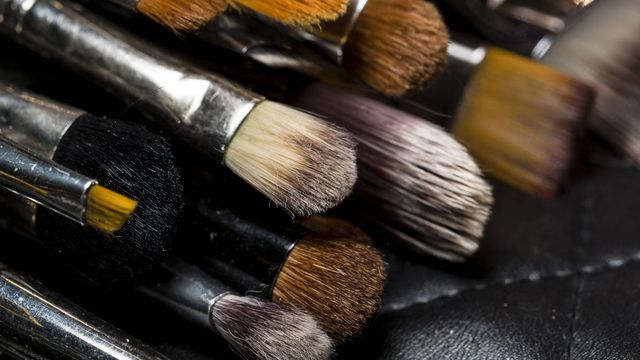
Cleaning your makeup brushes and tools is a chore—we get it. The fact of the matter is, like flossing, working out, and all the other boring but very important things in life, cleaning our beauty tools is something we need to get serious about.
Dirty brushes not only prevent your makeup from looking its best, but the bristles can harbor pore-clogging dirt, oil, and germs. The longer you go without sanitizing your tools, the more bacteria and fungi can build up and lead to conditions like acne, pink eye, and even staph infections.
Then there's the matter of technique. If you don't wash your brushes correctly, you risk shedding or damaging the fibers. Thankfully, pro makeup artists have shared their tricks of the trade for cleaning your brushes quickly and effectively. Below, everything you need to know to keep your brushes (and skin) healthy.
PICK THE RIGHT CLEANSER
The first step in brush cleaning is to choose the right cleanser. Whether you’re using natural or synthetic bristle brushes, those bristles are delicate and just like your own hair, they can start to break down and fray if they’re treated too harshly.
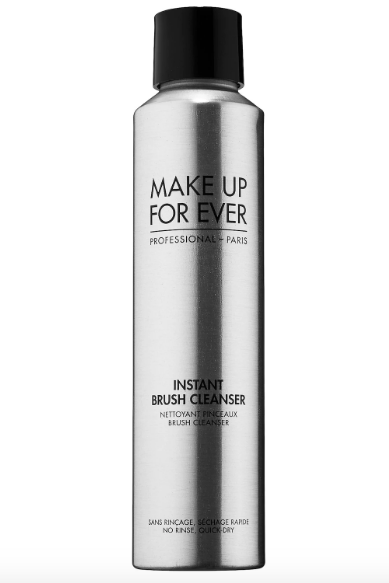
Because they’re constantly using their brushes, professional makeup artists often opt for rinse-free formulas (Kirsten Dunst’s go-to gal Jillian Dempsey likes Make Up For Ever Instant Brush Cleanser, while Molly R. Stern, the woman in charge of Cara Delevingne’s flawless face, sings the praises of Cinema Secrets Makeup Brush Cleaner.) If you’re a clean-on-the-go type—or you just don’t have the patience to wait on wet brushes for hours—these instant-dry formulas, which use oil-derivatives to break up sebum and makeup residue, may be exactly what you need. Just make sure to keep an eye on the ingredients list: some formulas throw in alcohol to ward-off bacteria and speed up the dry time. But just like alcohol-based products can leave your hair moisture-starved and split-prone, overusing alcohol-based brush cleaners can shorten the life of your makeup brush bristles, too.
Of course, for most of us, daily brush cleaning is a little excessive. “If you're just using your brushes on yourself, you should clean them at least once a week to prevent dirt and bacteria from building up and causing blemishes,” says Dempsey. For weekly cleansing you can go the more traditional route with a rinse-out cleanser. Many beauty brands make their own specialty brush cleansers (we’re fans of BareMinerals I.D. Well-Cared For Brush Conditioning Shampoo) but if you’re looking to trim the bottles in your bathroom down to multi-taskers, a mild facial cleanser like Cetaphil Gentle Skin Cleanser or gentle shampoo like Shea Moisture Raw Shea Chamomile & Argan Oil Baby Head-to-Toe Wash & Shampoo will also get the job done.
DON'T FALL FOR CLEANSING MYTHS
As for those “deep-cleaning” tips you might have seen on Pinterest featuring vinegar soaks, it’s best to give those a pass. “It’s not harmful to brushes, but it’s not ideal either,” advises Laura Barnes, a brush cleaning aficionado from makeup brush brand Sigma Beauty. “Vinegar is a multi-purpose cleanser, too harsh and drying for the care of your makeup brushes. Dry brush fibers won’t apply makeup flawlessly.”
BE GENTLE
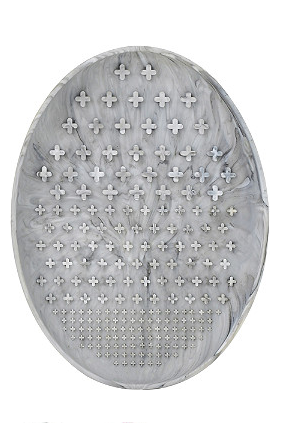
No matter what type of formula you settle on, technique is key. To prevent fraying, work your cleanser into your brush in the same direction as the bristles, swirling lightly (you don't need much pressure) into the palm of your hand or over a textured cleansing mat (like Real Techniques Brush Cleansing Palette.) Scrubbing brushes against the grain can open the cuticles of natural bristles and break off synthetic ones, both of which will leave you with scraggly brushes that don’t work as well.
If you're using a waterless formula, wipe the bristles off on a clean towel or paper towel and repeat until there's no color coming out of the brush. For traditional formulas, rinse brushes until the water runs clear and there are no more soap suds. Shake or gently squeeze out the excess water or cleanser, then mold them back into their proper shape (skip out on that and you’ll end up with weird, misshapen brushes until your next cleaning.)
DRYING IS KEY
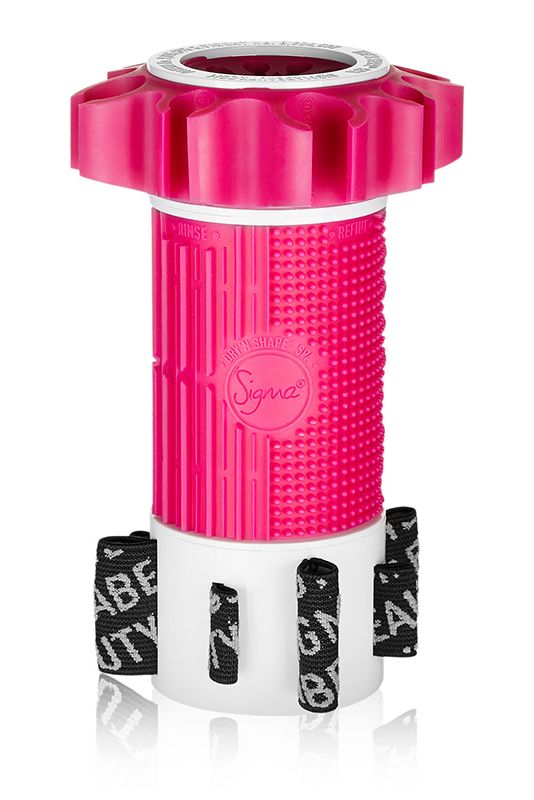
Another pivotal step in good brush maintenance? Drying. Brush bristles are secured primarily with glue. When liquid lingers on the brush, it can seep up the bristles into the glue and start unsticking it, which in turn makes your brushes shed. To prevent shedding, dry your brushes by laying them flat on an absorbent towel, or fully exposed to air - “I like drying makeup brushes with the handles on the counter with the brush head hanging off,” says Stern. Or go all out and opt for a brush drying stand like Sigma Beauty Dry’n Shape Tower which holds brushes upside down as they dry and softly squeezes out excess liquid, so no errant drips slip back up into the brush.
Once dry, store your brushes in a case with individual holders (we like the Sephora Collection Sephora Pro Easel which folds over into its own stand) or upright in a chic glass or empty candle holder (looking at you, burnt out Diptyque candle) to keep the bristles in good condition; preferably tucked inside of your medicine cabinet where dust and other contaminants like hairspray or perfume don't accidentally collect on them.
